Thursday, July 31, 2014

Bedroom Remodel, Part 3: The first nail is pounded into the wall

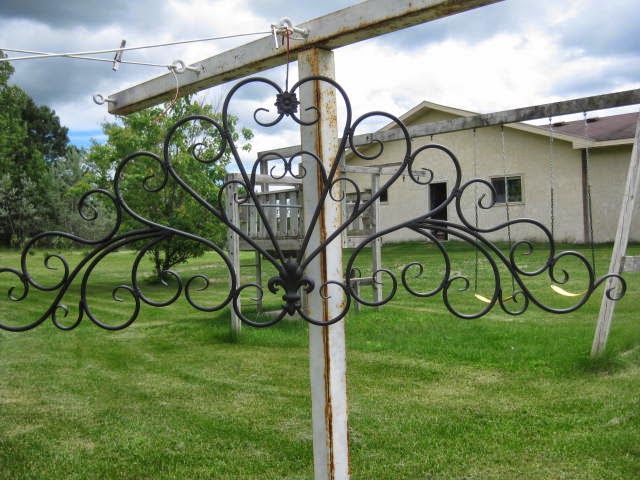
I bought this piece on clearance at Hobby Lobby a couple years ago, knowing it would be perfect for something ... sometime in the future.

Well, the time is right and the place is perfect, and Nick was willing to do the painting.


I'm really happy with how everything is coming together.  Here's what's left:

Red
  • This room must have some red in it!  By some serendipitous set of circumstances, I was able to find a rug I really like for 80% off.  UPS promises I'll see it tomorrow.  
  • I'm trying to buy red ticking for some pillowcases but JoAnn currently has a particularly lame sale on utility fabrics.  ($1 off/yard).  Since this is a $15/yard product, I'll wait until the "sale" is over and use one of their ubiquitous coupons to buy it for 40-50% off.
  • I'm also embroidering some redwork pillowcases.  I actually started one with a pattern I like pretty well but then a new inter-library loan came in with patterns I like really well.  It's a little crazy, but I think I'm going to scrap the first almost-done one and start over with the A-List patterns.
  • Also, I'm pretty sure I want to make a red version of the quilt at the top of this section that WILL NOT cooperate and move down here.

Organizing
  • Right now, toys and extra blankets are in the wardrobe (which also needs to be painted sometime) and H and J's long-term storage stuff is safely tucked under the bed, but there is still a bunch of stuff around the perimeter of the room waiting for J's move and a variety of thumb's up or down judgment calls.  Everyone will have been home by the end of August, so it should all be completed by then.
  • What to do with that toy kitchen?  It fits along the wall, but sure doesn't match at all.  Linus likes to play with it, but will he play down in the bedroom?
More nails in the wall
  • I want to build one of these for the east wall.  I like the idea of being able to change out the art without pounding more nails in the wall.
Wednesday, July 2, 2014

Bedroom Remodel Part 2: Headboard

I've been informally looking for a used headboard for the past year and really haven't found anything I like for a price I'm willing to pay and it was finally to the point where it was holding up the project.

So, inspired by this:

and fueled by nice weather, cheap lumber, and owing a couple decent tools that did all the real work, I made my own.  It also helped that the word "rustic" was part of the original pinterest title I saw.  ("That?  Oh, it's supposed to look that way.  It's rustic!")

We bought the lumber after the parish picnic on Sunday.

And I started putting it together the same evening.

By Monday I was able to prime it.

And today (Wednesday) we installed it!  The only reason it took that long was that I worked two of those days and needed to fit in coats of paint in the mornings and evenings.

Ta da!

This is the first actual piece of furniture I've ever made all by myself and I'm pretty pleased with the results.  Obviously, it's in the beginner range for such things and I can't overestimate the value of having a saw that makes perfectly square cuts all by itself.  Nonetheless, yay me!

Next up, I'm going to vacuum those little piles of sawdust from drilling the holes to attach it to the bed frame and then I'll prioritize what will be stored under the bed and start doing some actual decorating.

NOTES:

  • I used carsiding instead of the 1x4's and 1x6's listed in the instructions.
  • I made mine quite a bit shorter (maybe 10 inches or so).
  • I was going to transfer something from the Graphics Fairy onto this blank canvas, but I tried it on a practice board and decided that I need a LOT more practice before attempting a big project.