To go with The Jesus Storybook Bible. They uploaded out of order and since I am using an iPad it’s probably easier to type the list than move the photos.
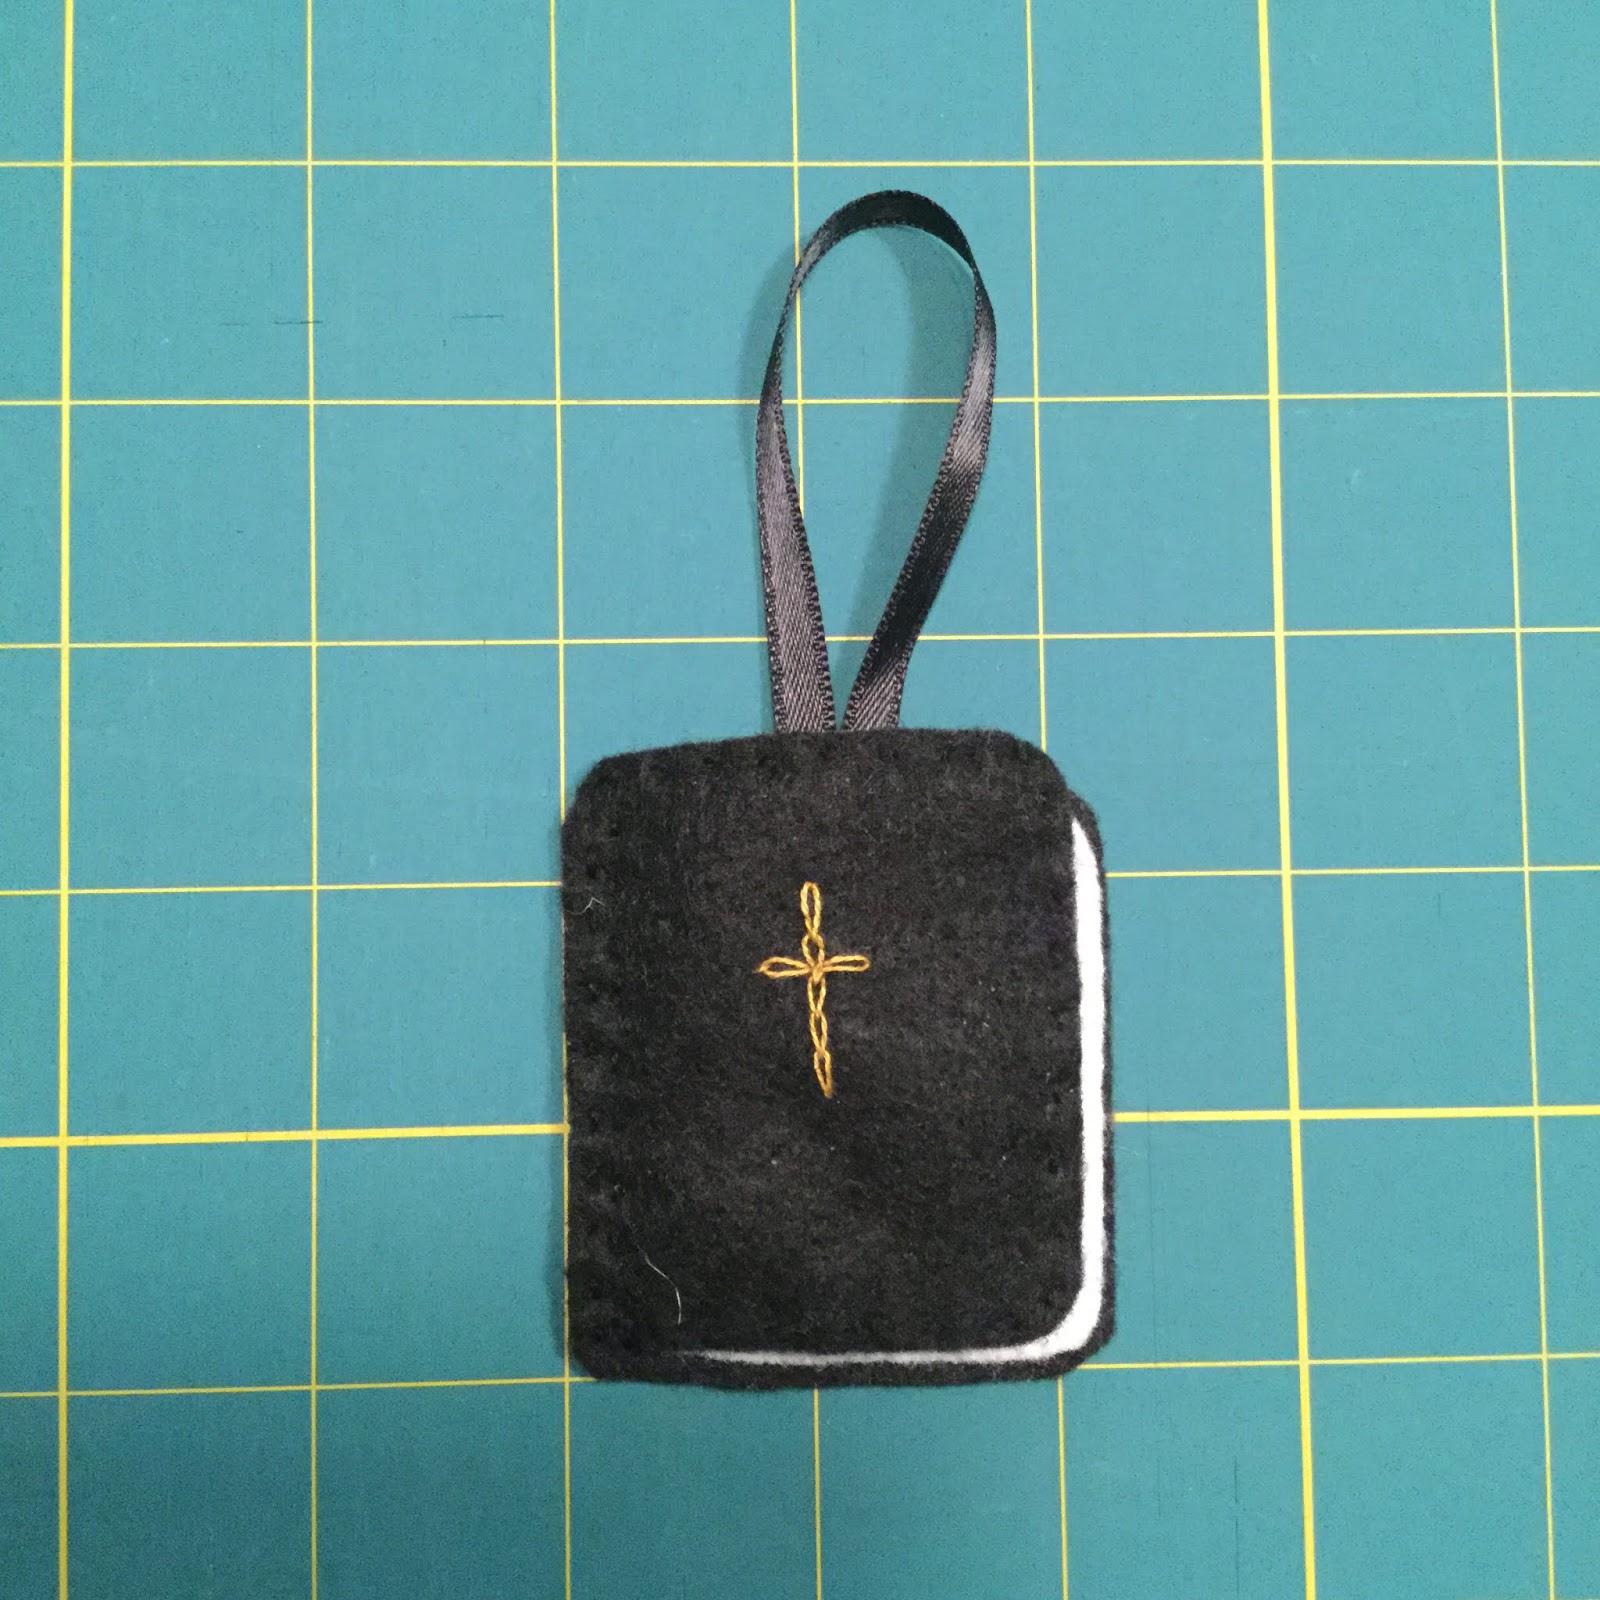
- Bible
- Sun and moon
- Apple and serpent
- Ark and rainbow
- Tower of Babel
- Stars
- Ram
- Girl holding heart
- Coat of many colors
- Burning bush
- Red Sea
- Ten Commandments
- Jericho trumpet
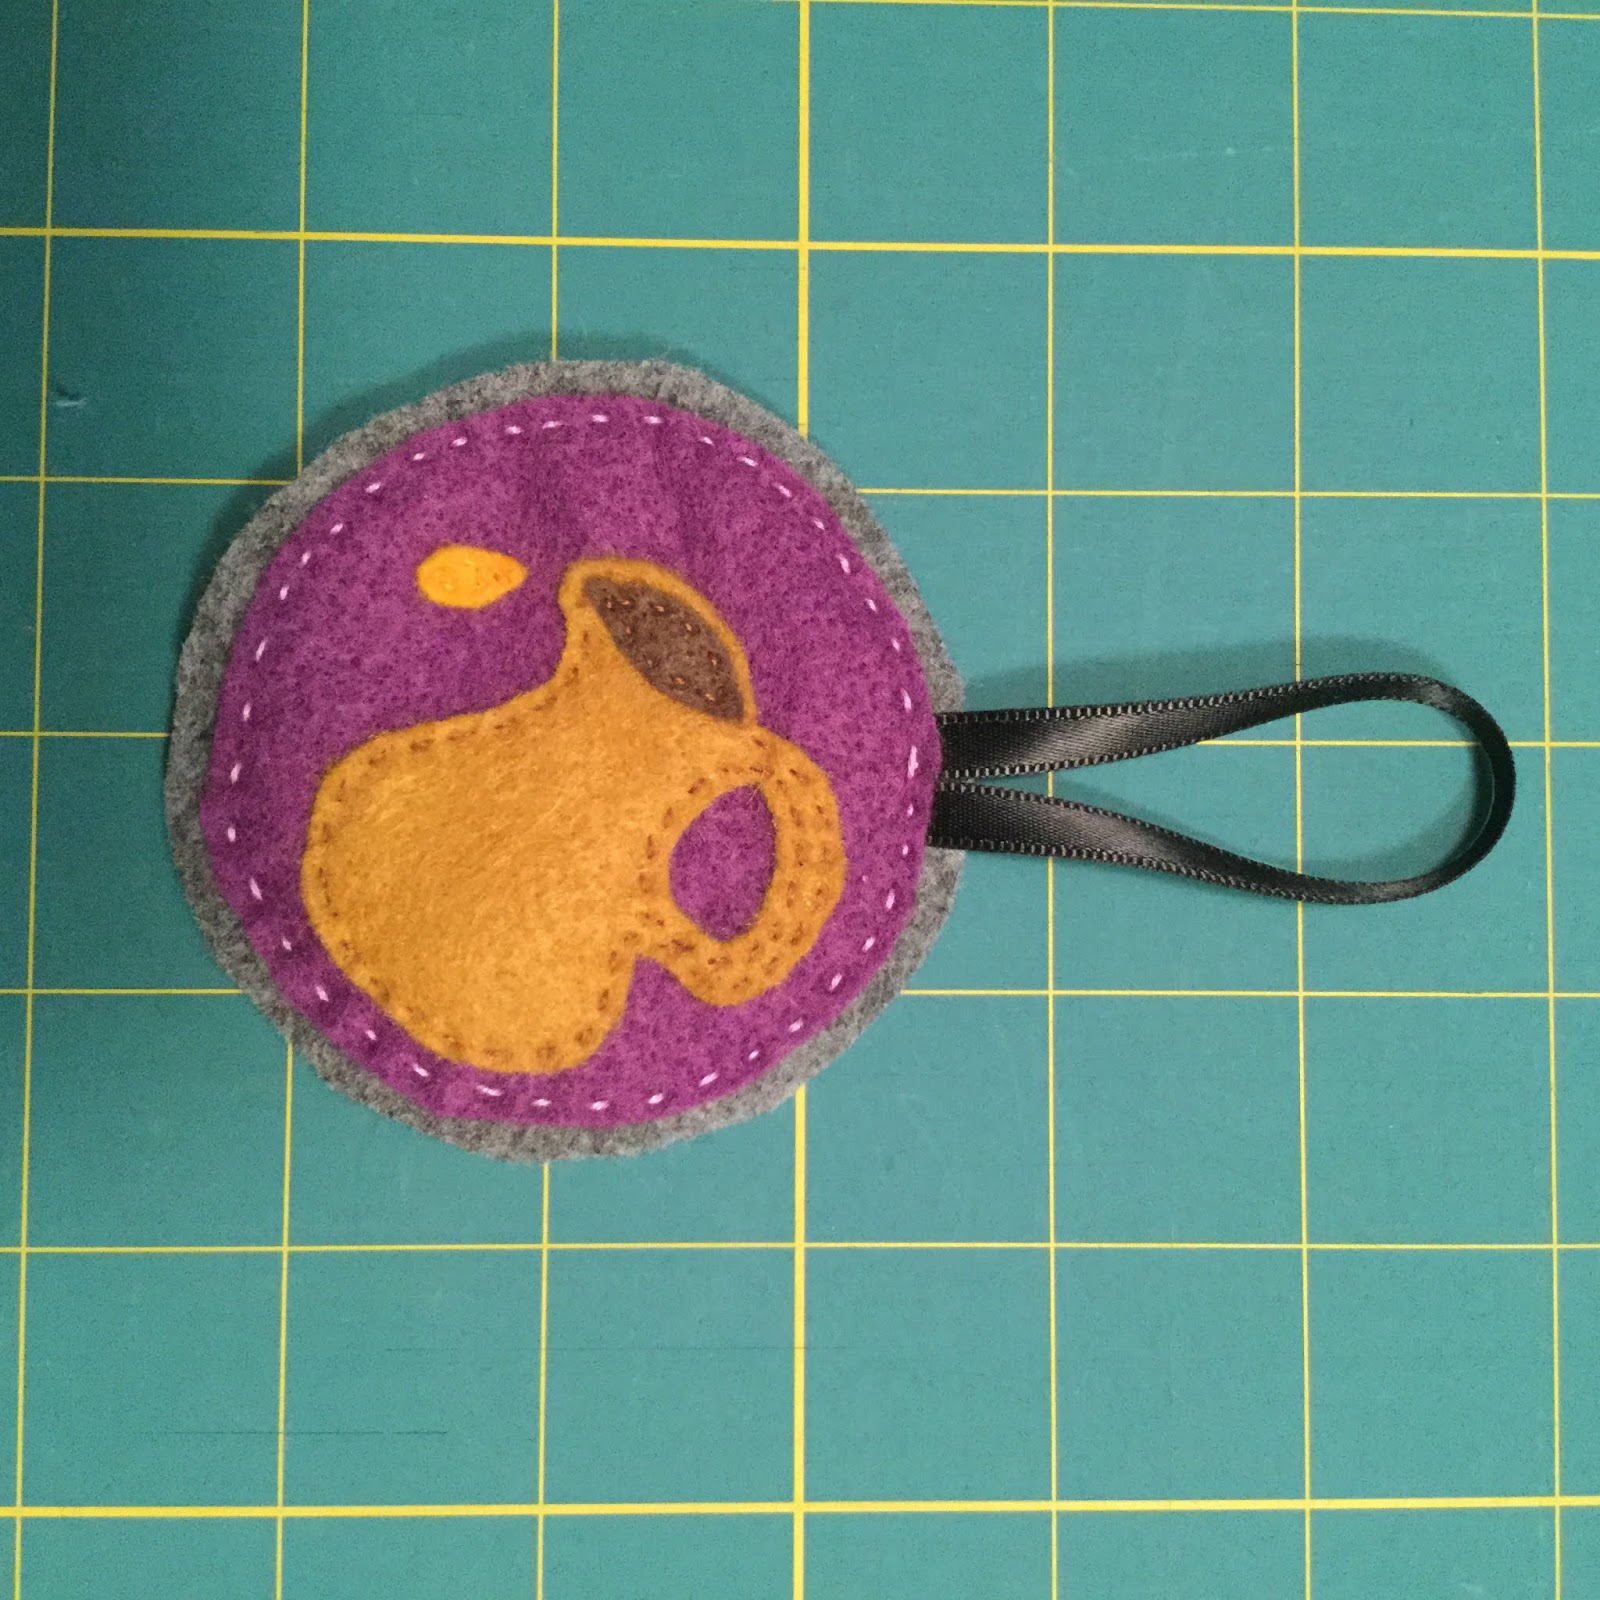
- Pitcher of anointing oil
- Slingshot
- Sheep
- Mended heart
- Parchment and feather pen
- Lion
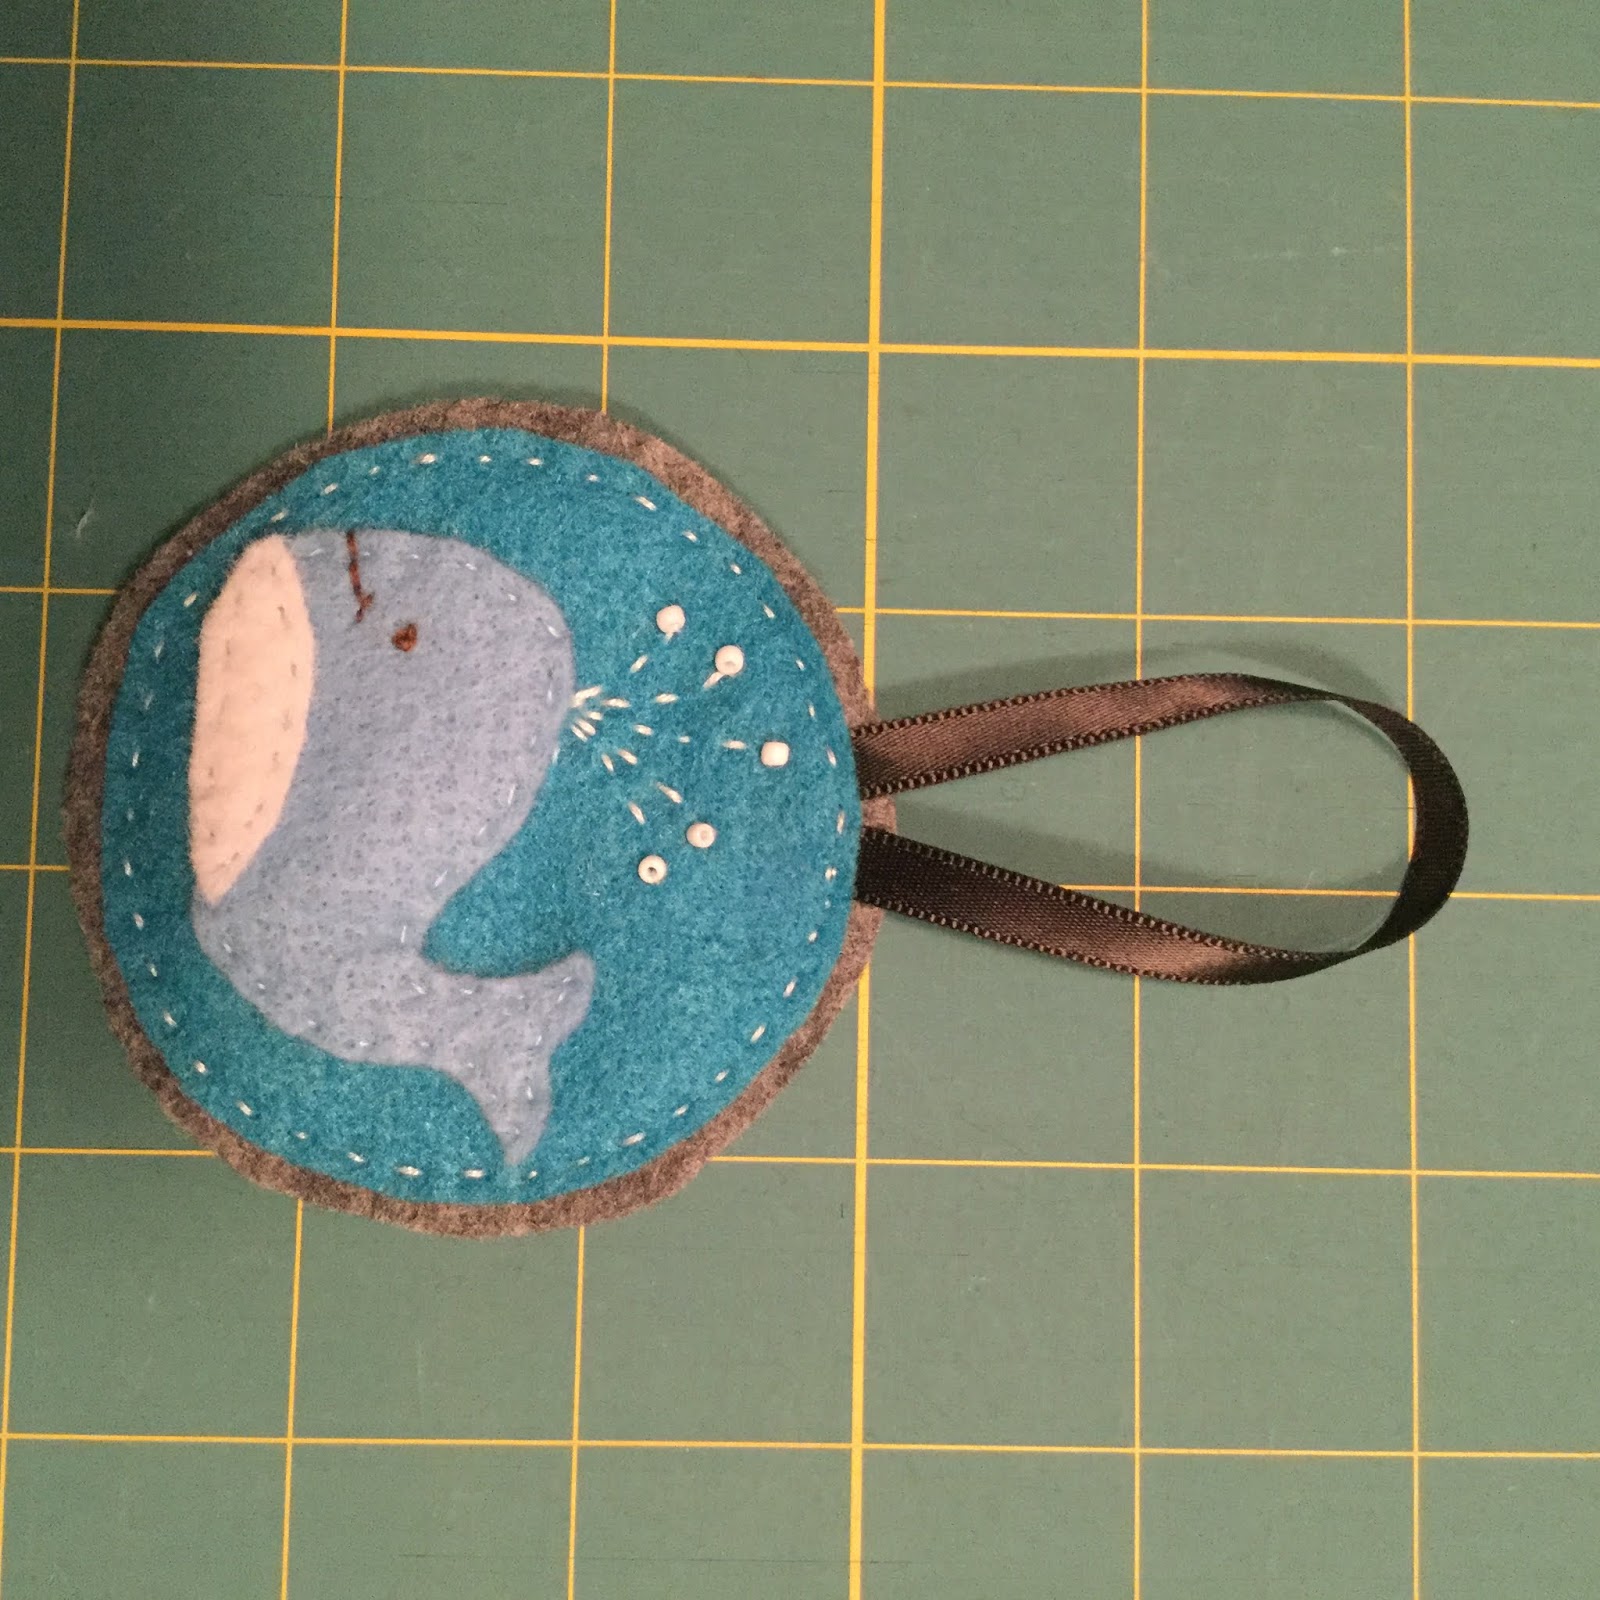
- Whale
- Treasure chest
- Mary
- Baby
- Angel
- Star
All are made from felt, mostly cut using dies and a cuttlebug.
All are hand sewn. The ribbon loop is hot glued between layers. (I didn’t find craft glue to be very effective.)
I also printed, laminated and bound a little reading guide to go with it.
Finished in time for Advent, 2019 and given to Holly’s family.